
 Jane and John's RV pages
Jane and John climb aboard the LED lighting bandwagon
Let the installation begin!
I've removed the salon fluorescent ceiling fixtures (I briefly thought about installing the strip lights without taking the fixtures to the workbench, but decided I didn't want to work upside down looking up at the fixture) and used a 1/8" drill bit to remove the Thinlite's electronic ballast circuit board pop rivets and the two tube socket rivets at opposite ends of the housing. Now we have a clean piece of aluminum with which to work.
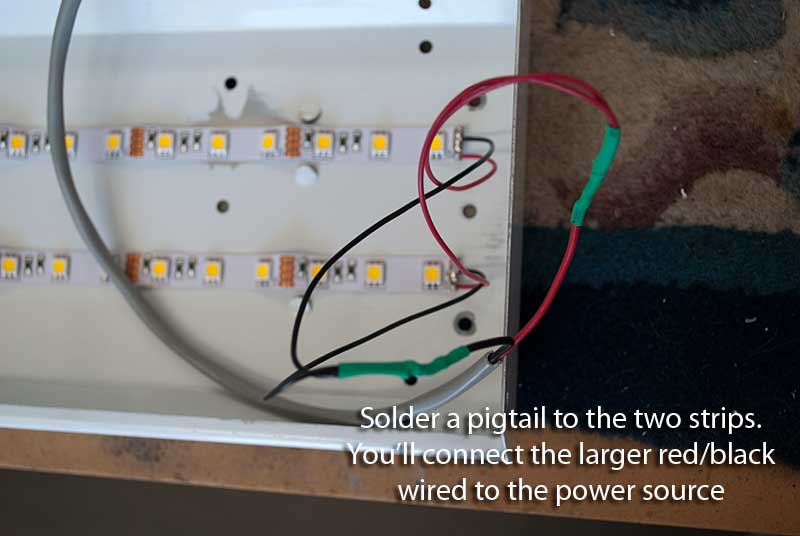
Lay out a strip of lights in the housing, or use your tape measure, and cut the strip as long as possible considering the designated cut points. Solder the 12V leads, test the light strip, clean the mounting surface with acetone or rubbing alcohol pull the sticky backing paper back a little bit and start sticking the strip down.
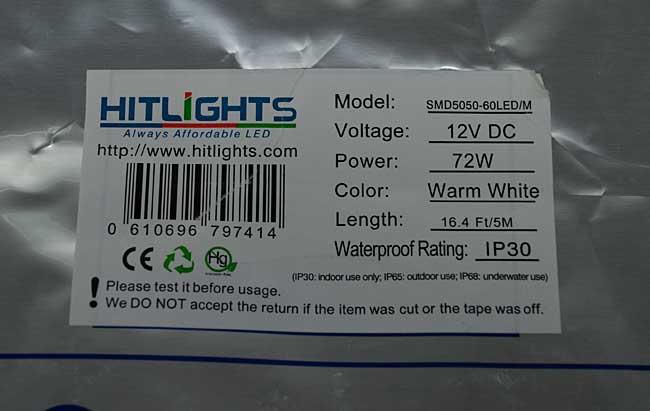
To replace a single 36 watt fluorescent tube, I used two ~36" long HitLights LED light strips which seems to provide the same lumens (light intensity) as the tube. A caveat - all strips are different and YMMV (your mileage may vary) if you choose a different LED strip.
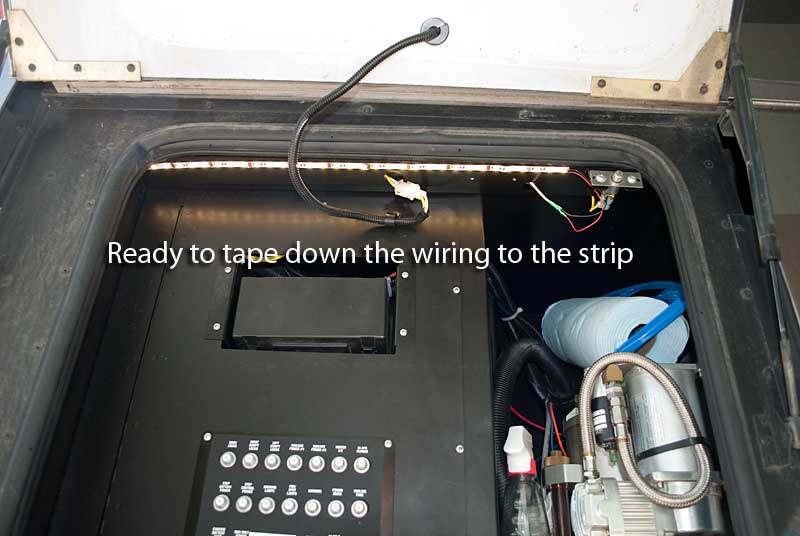
Follow best wiring practices - protect wires from chafe and movement. An RV is a hostile environment for plumbing, wiring, you name it so take care that your wiring is taped down so it can't vibrate and break (I'm thinking specifically where you soldered to the strip's lands for power.)
Let's look at some pictures...
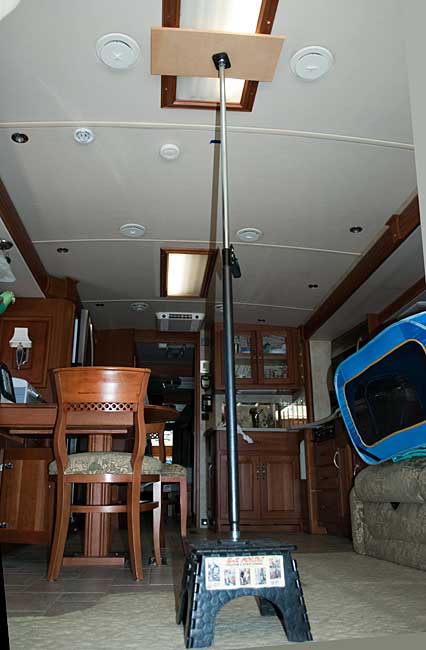
I frequently work alone, so I have to come up with some novel solutions for those occasions when an "extra" hand or two is necessary. The "stick" is an adjustable cargo barrier that is typically used in the bed of a pickup truck to keep cargo from shifting around. The "stick" is placing a little bit of pressure on the fixture trim so I can at my leisure remove the six screws. It does get exciting when I release the tension on the "stick."
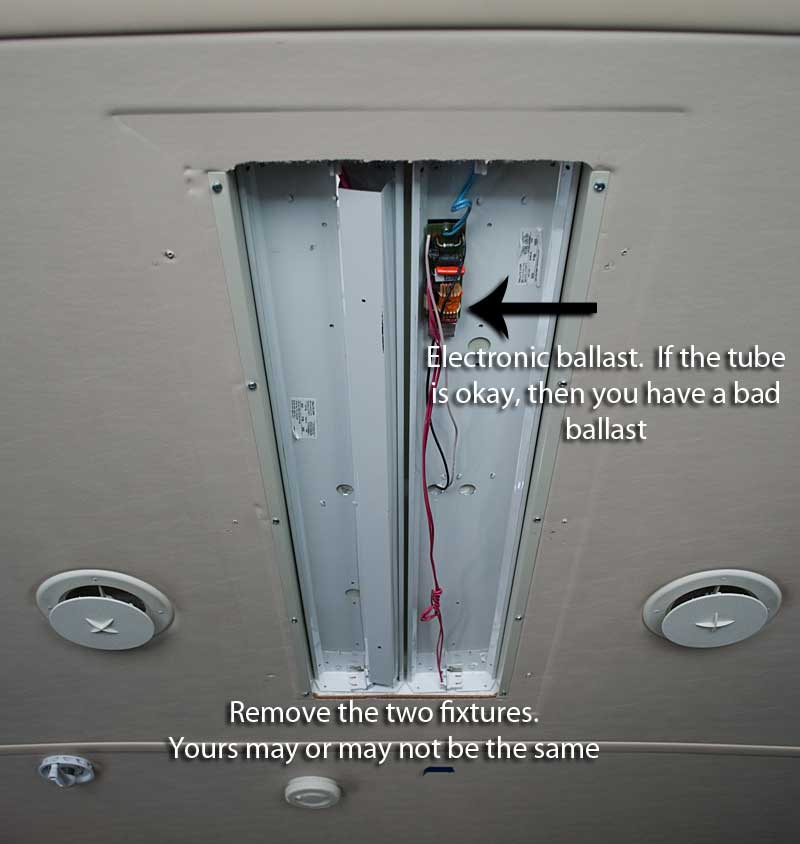
In this picture I have removed the U-shaped cover on the right side fixture to expose the ballast and wiring. I had to remove two sheet metal screws on each end of the two fixtures to remove them.
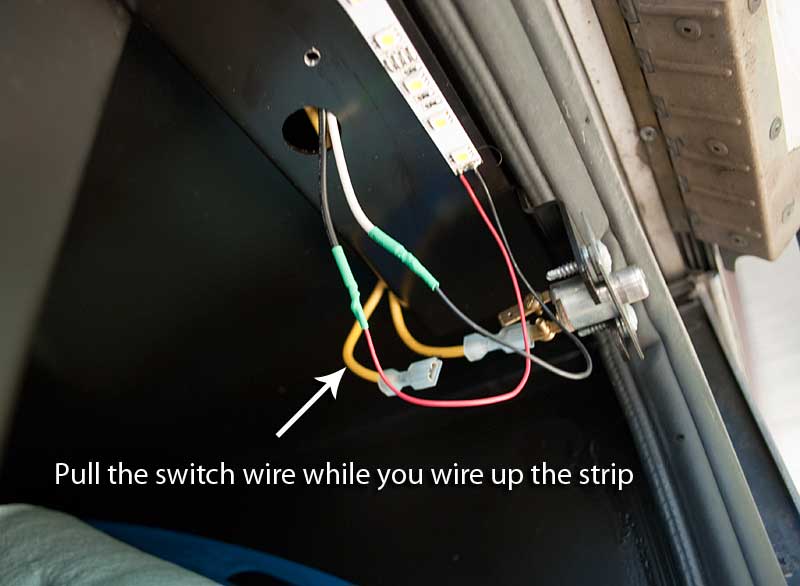
Note that 12v wire colors don't necessarily mean anything. What I've discovered is that lighting fixtures on our Horizon use the black wire for hot or positive, and the white wire is negative or ground. Winnebago's 12V wiring is typically yellow for positive and white for negative. It's always best to check with a voltmeter instead of assuming anything. (Traditionally, electronic wiring is red for positive and black for negative.)
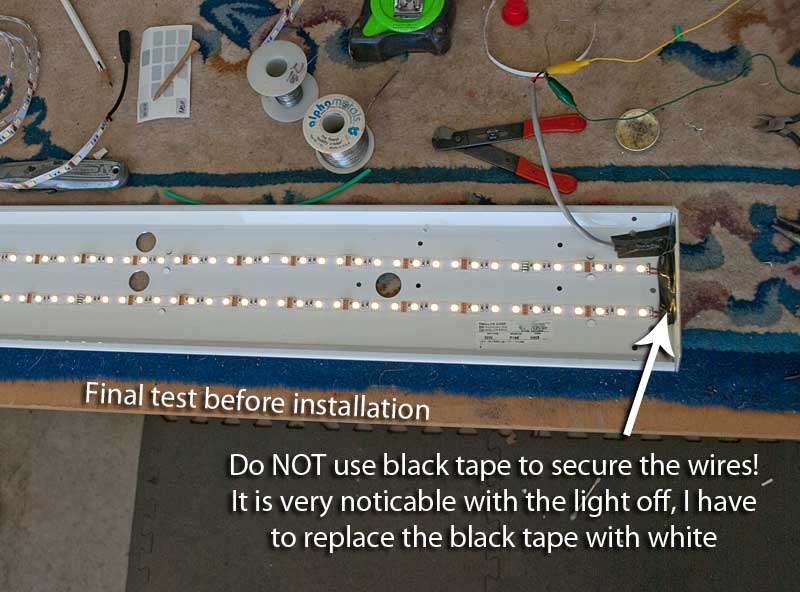
And one more wiring test just to be certain the fixture is ready to re-install. And.. do not use black tape to secure the wiring - it's really ugly!
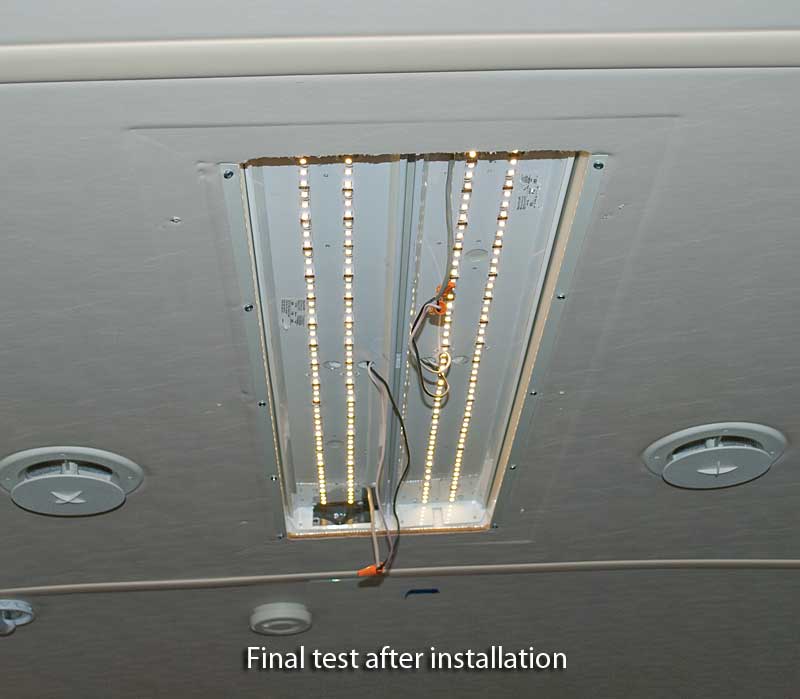
And one final check before we button things up.
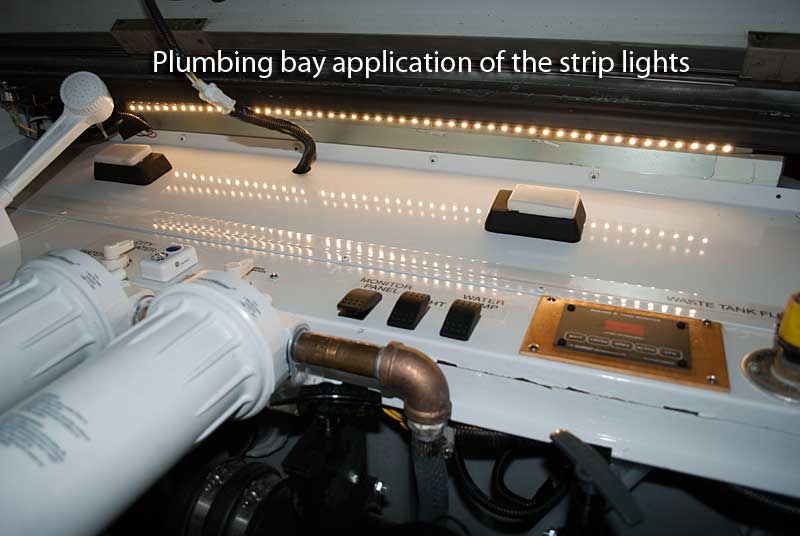
What to do with leftover strips??
Oh, this part is fun! I had about five feet of strip leftover so I start to think of possible uses. BINGO. The plumbing bay and the the bay under the driver's seat. The LED strips will replace the oddball (as in hard to find and expensive) #1414 bulbs and provide about 10x the light the little useless bulbs did.
Oh yeah!
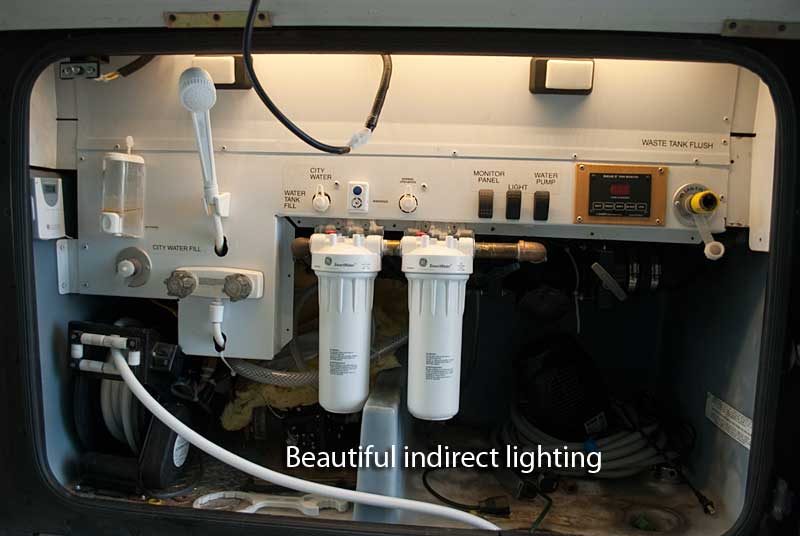
I likee!
And here's the bay under the driver's seat. The last #1414 bulb fixture is retired :)
Thanks for reading along with Jane and John's continuing effort to stimulate the economy while making our Horizon up-to-date!
Page 1 - Introduction
Page 2 - Tips and techniques
Page 3 - This page