
 Jane and John's RV pages
We go green! 290 watts of Zamp solar panels installed
Installation - on the roof
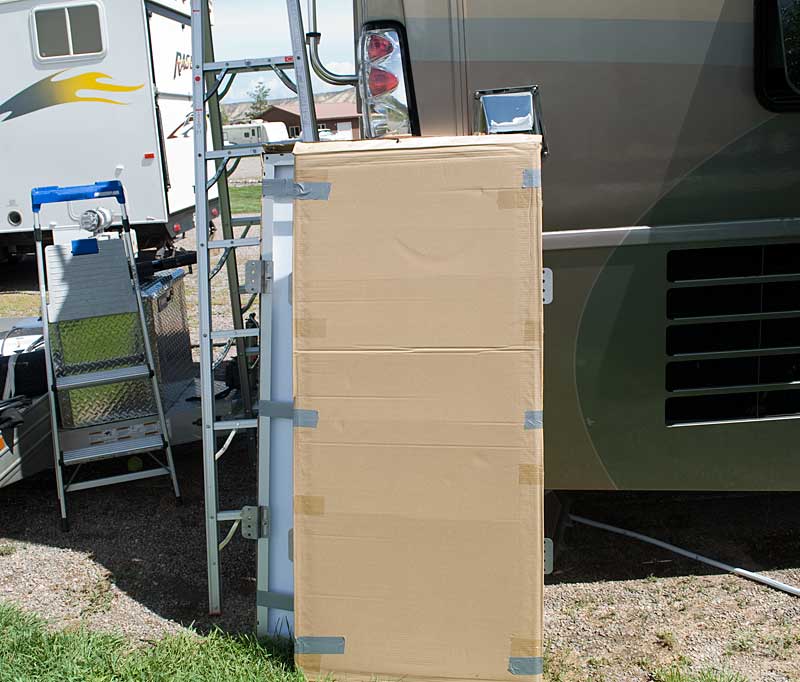
The panels ready to hoist on the roof.
Hoist the panels to the roof and place them into the approximate position. Use a tape measure to align the panels as required. Use a pencil to mark the mounting feet locations, move the panels aside and clean the area of the mounting feet with lacquer thinner. Note that when you clean the mounting feet areas with lacquer thinner you will rub off the pencil marks, so move the panels back into position and mark again with the pencil. The pencil marks will let you know where to apply the Dicor when you're ready to mount the panels to the roof.
With the panels back into position, completely roll out your wiring.
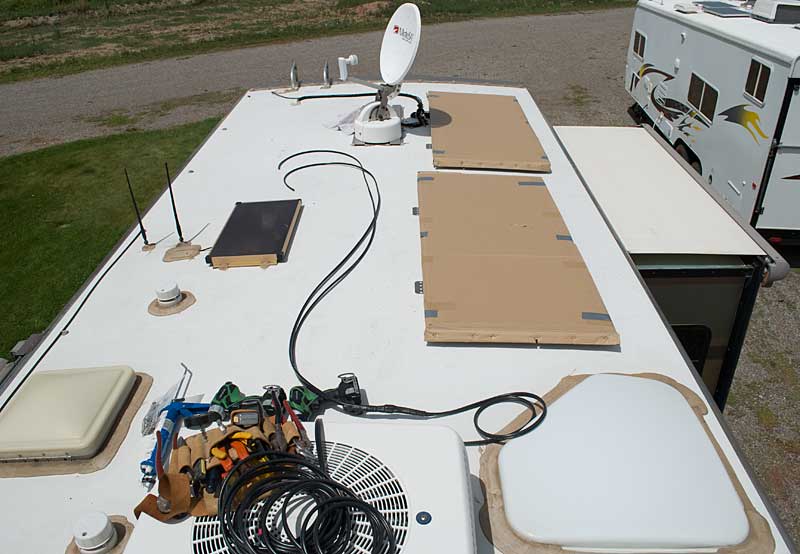
I offset the forward panel to place it closer to the center of the roof so it wouldn't be at much of an angle which I couldn't do with the rear panel due to obstructions. It's not a big deal one way or another.
With the wiring unrolled and the panels in their approximate position (+- a couple of inches) , cut each panel's cable to length. If you leave them a little long, that's not a problem, you can always make a loop and clamp to the roof - better too much than too little.
Unfortunately I didn't take a picture of the next step - connecting the cable legs to each panel. Use the included (if you bought the install kit) solderless butt connectors and make a good hard crimp. (Always test your solderless connectors by making certain you can't pull out the wire with a good tug!) You can either goop up the connector with silicon caulk or tape it up to keep water out (I used good quality electrical tape.) Do not neglect this step to protect the connectors from weather.
BE VERY CAREFUL when working with the wiring - even though the panels are covered up, they could still be generating electricity! Never short the leads together!
Now we mount the panels...
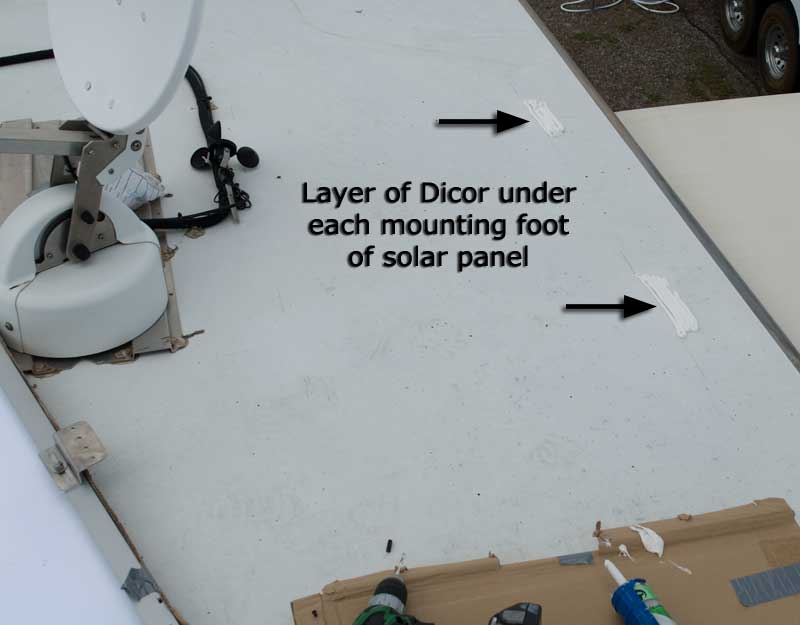
Make several beads of Dicor where you previously marked each mounting foot, make sure the Dicor covers the entire area of the mounting foot. The Dicor makes a great adhesive by itself but we'll also use a bunch of screws in the mounting feet.
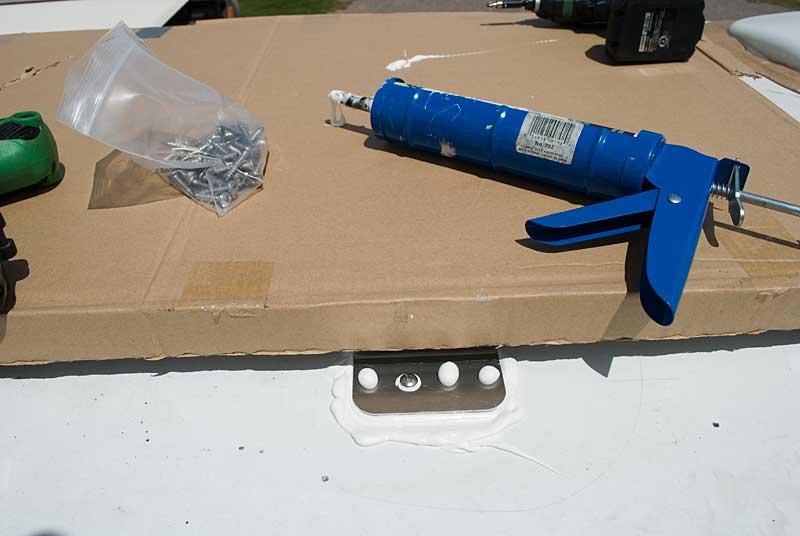
Plop the panel in place, make any final positional alignments and get one screw in one foot. (Use the appropriate size drill bit for the #14 SS pan head screw.) Move to foot #2, check that you haven't moved the panel out of position, and install one more screw. Okay - let's get drillin' and screwin' - install the other 14 fasteners. Now do the same for the other panel(s).
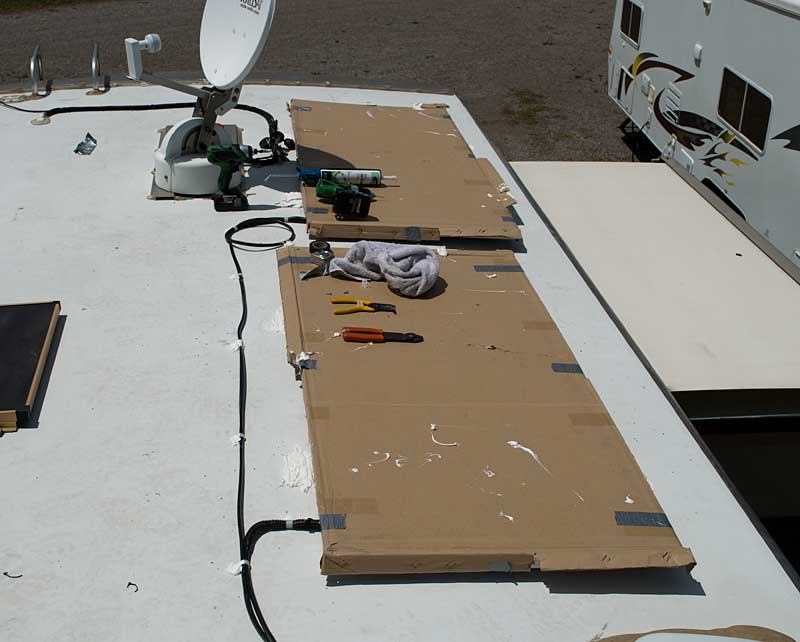
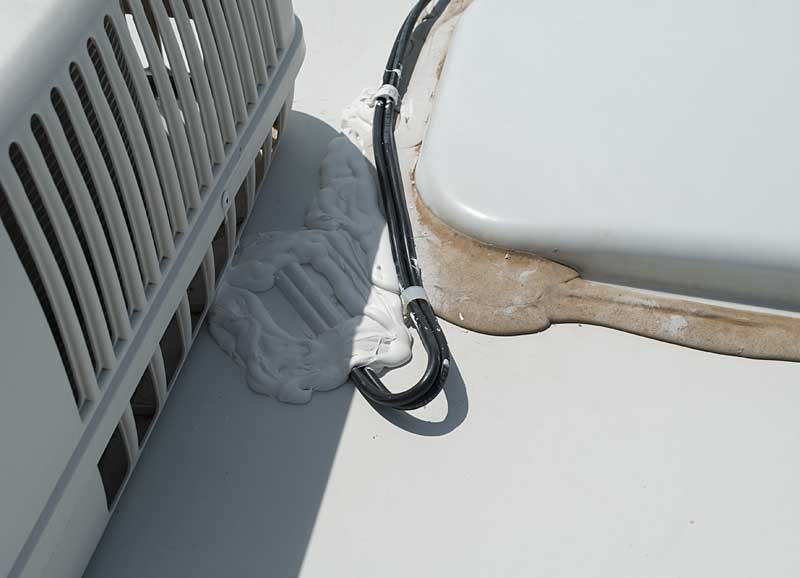
After the panels are mounted, lay out your cable run and clamp down the wire. I used split wire loom to cover up the splice to each panel (it will keep the UV rays off the electrical tape.) Of course use Dicor on the cable clamp screws - drill the hole for the screw, place a daub of Dicor on the screw hole, screw the #8 SS pan head in (you can use 1/2" or 3/4" long) and then one more little goop of Dicor on the screw head. If you can notice the rough appearance of the Dicor on the nearest panel's foot, that's due to the caulk being too old and partially set-up. It should be okay though and do its job, but always use fresh caulk. Note the screws are only going in thin roof material, so go easy when you tighten them down!
Now we need to get the cable inside the Winnebago OnePlace chase...
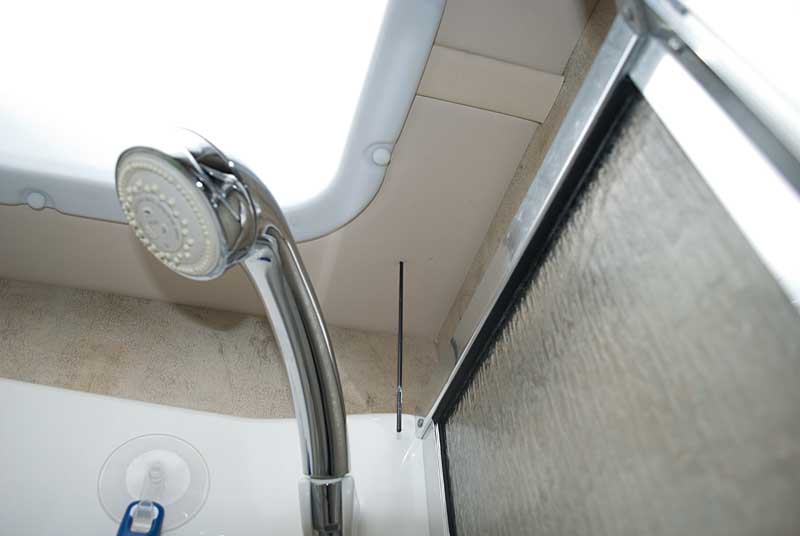
Use a long 1/8" drill bit to make your trial/test hole (drill removed for clarity.) If you come out in the wrong place, a 1/8" hole is really easy to patch, use lacquer thinner to clean the errant hole and place a dab of Dicor on the hole and out an inch or two of radius.
I mentioned compromises several times in this article and here's an example of one of them. This is not where I wanted to bring the cable into the OnePlace center chase, but that's the best I could do considering roof obstructions.
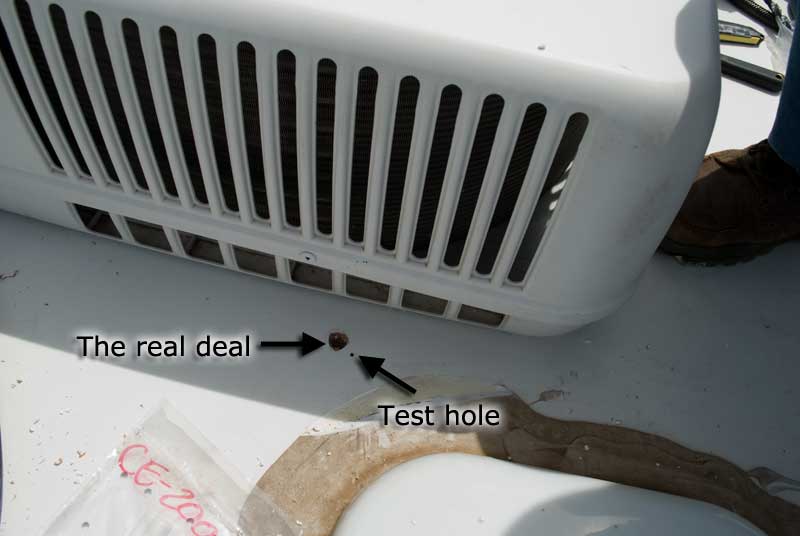
Not much area to work with considering the size of the Winegard CE-2000 roof entrance plate I was going to use.
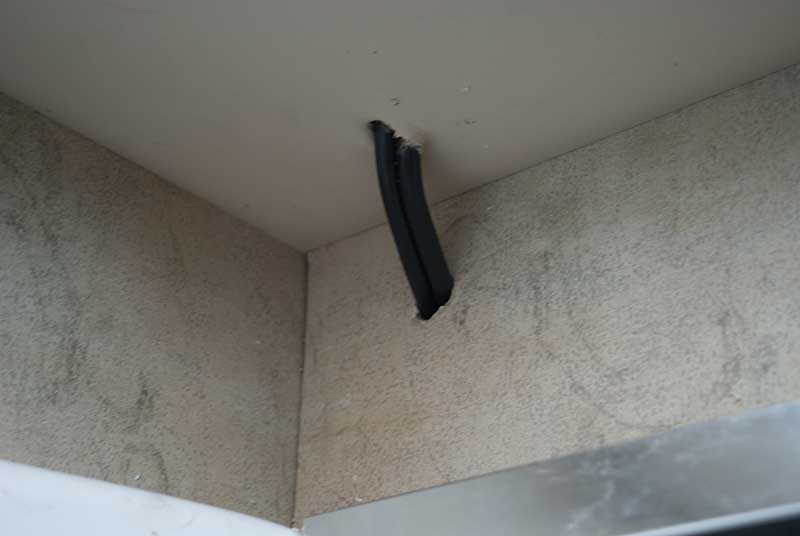
Yes, it's ugly. I'll make some cherry trim for it when we get home.
The Winegard CE-2000 mounting plate installed and gooped up with Dicor.
Stick the cable in the hole but leave just enough slack so you can route and clamp the cable down as required. Test your CE-2000 plate and cable fit on the roof before you get Dicor-happy! If everything is looking nominal, run a good bead of Dicor on the perimeter of the bottom side of the plate, some on the interior part of the plate bottom, and some around the roof hole. Place the plate in position and wiggle it around a little to get the Dicor distributed and then get two screws in and install the rest. Finally, more Dicor on the screw heads.
The Dicor will smooth and level out after more after a few more minutes of time. I didn't want to orient the plate this way (the cable opening in the plate should be facing aft) but it's the only way I could make things work.
Yea! All finished on the roof, glad that part is completed! Let's move on to the inside of the coach.
Page 1 - Introduction
Page 2 - Planning
Page 3 - Tools, supplies required, job start
Page 4 - This page
Page 5 - Installation - inside the coach
Page 6 - Project wrap-up, final thoughts, panel performance